
What Is Anodizing and How Does It Work?
- Industrial Engineering |
- Jul 3, 2026
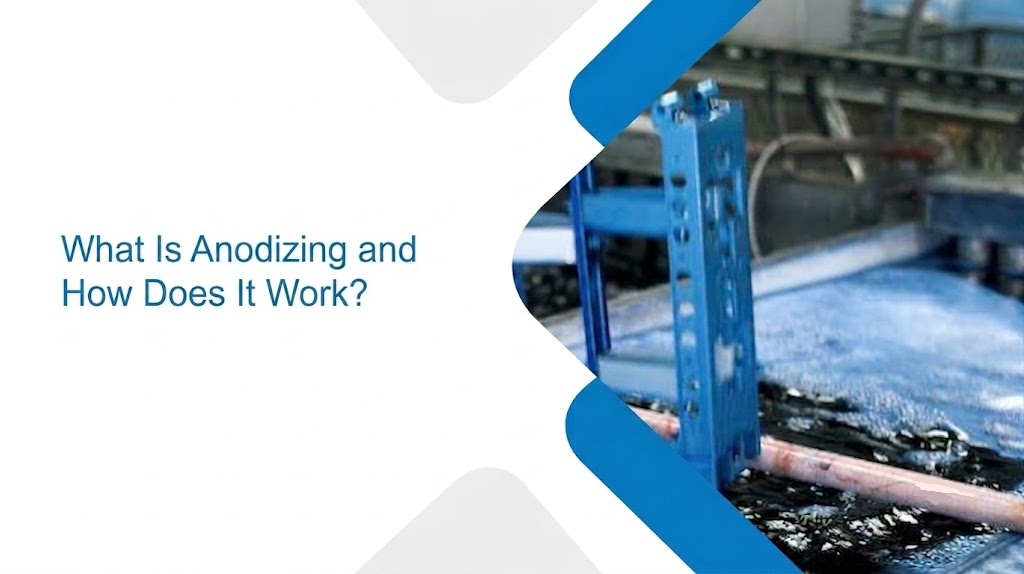
Quick answer: Anodizing is an electrochemical process that thickens the natural oxide layer on a metal’s surface, usually aluminum, to make it harder, more corrosion-resistant, and able to hold color. Unlike paint or powder coating, the anodized layer isn’t added on top of the metal. It grows out of the metal itself, which is why it doesn’t chip, peel, or flake off.
If you’ve ever picked up a phone case, a water bottle, or a machined bracket and noticed a smooth, colored, almost glassy metal finish, there’s a good chance you were touching anodized aluminum. It’s one of those manufacturing terms that gets thrown around a lot without much explanation. So let’s fix that.
Below, we’ll break down what anodizing actually means, walk through the anodizing process step by step, compare it to similar finishes, and cover what you need to know before anodizing a part.
what is anodizing?
Anodizing is a controlled electrochemical process used mainly on aluminum (though titanium, magnesium, zinc, and a few other metals can be anodized too). It converts the metal surface into aluminum oxide, a compound that’s naturally hard, stable, and resistant to corrosion.
Here’s the part that trips people up: anodizing isn’t a coating in the way paint or powder coat is a coating. It doesn’t sit on top of the metal. It’s grown from the metal’s own surface atoms reacting with oxygen. That’s why anodized parts keep their machined tolerances so precisely, and why the finish can’t be scraped off with a fingernail the way paint can.
Manufacturers rely on anodizing because it does three things well at once:
- Boosts corrosion and wear resistance
- Improves surface hardness
- Opens the door to color finishing (since the oxide layer is porous before it’s sealed)
What is the anodizing process, step by step?
If you’re wondering what is anodizing process in practice, not just in theory, here’s how it actually works, from a raw machined part to a finished, colored surface.
Step 1: Clean and pre-treat the surface
Before anything touches the electrolyte bath, the part is degreased and cleaned to strip away oils, dust, and machining residue. Any surface prep, bead blasting for a matte look, polishing for a glossy one, happens here, because anodizing won’t hide scratches or tool marks. It actually makes them more visible.
Step 2: Set up the electrical circuit
The part is hung on a rack (called “racking”) and wired to the positive terminal of a power supply, turning it into the anode. A separate metal plate, usually aluminum or lead, is connected to the negative terminal, becoming the cathode.
Step 3: Submerge it in an acid bath
Both the part and the cathode go into a tank filled with an electrolyte, typically a dilute sulfuric acid solution (this varies depending on the anodizing type).
Step 4: Apply voltage
Once current flows through the bath, something interesting happens. Oxygen ions in the solution get pulled toward the part’s surface. Aluminum atoms get drawn outward to meet them. The two react and form aluminum oxide right at the surface. As this layer builds up, it forms a pattern of microscopic, hexagonal-shaped pores.
Step 5: Color the part (optional)
While the pores are still open, dye can be absorbed into them, or the part can go through electrolytic coloring using metal salts. This is the step that gives anodized aluminum its signature range of colors, black, blue, red, gold, and beyond.
Step 6: Seal it
Finally, the pores get sealed, often in near-boiling deionized water. This locks in any color and closes off the surface. Skip this step, and the finish stays porous, slightly rough, and prone to staining.
That’s the full anodising process in a nutshell: clean, rack, submerge, apply current, color, seal.
Types of anodizing
Not all anodized finishes are built the same. There are three standard types, each suited to different jobs:
| Type | Also known as | What it’s good for |
|---|---|---|
| Type I | Chromic acid anodizing | Thin coating, good corrosion resistance, minimal dimensional change, common in aerospace |
| Type II | Sulfuric acid anodizing | The most common type; balances appearance, color options, and durability for consumer and industrial parts |
| Type III | Hardcoat anodizing | Thicker, denser coating built for heavy wear, friction, and impact resistance |
Type II is what you’re usually looking at with colored aluminum products. Type III shows up more in mechanical components, pistons, gears, hydraulic parts, where surface hardness matters more than looks.
Anodizing vs. electroplating vs. powder coating
These three finishing methods get confused constantly, so here’s the short version:
- Anodizing makes the part the anode (positive) in the circuit. The oxide layer grows from the metal itself and becomes chemically part of the surface.
- Electroplating makes the part the cathode (negative). A separate metal, gold, chrome, nickel, is dissolved from the anode and deposited onto the part as a thin external layer.
- Powder coating applies a dry polymer powder to the surface and cures it with heat. It sits entirely on top of the metal, similar to paint, rather than becoming part of it.
The practical difference: anodized layers won’t peel because nothing is sitting on top to peel off. Electroplated and powder-coated layers can chip or flake under enough stress, since they’re bonded to the surface rather than grown from it.
What are the benefits of anodizing?
- Corrosion resistance, aluminum oxide is far more stable than raw aluminum, which is why anodized parts hold up outdoors and in humid environments
- Hardness, hardcoat anodizing can push surface hardness close to that of some tool steels
- Color retention, dyes sit inside the pores rather than on the surface, so color doesn’t scratch off with normal wear
- Non-conductive surface, useful for electrical insulation applications
- Low maintenance, no repainting or recoating needed over the part’s lifespan
- Lightweight durability, you get a tougher surface without adding real weight, which matters for aerospace and automotive parts
What should you know before anodizing a part?
A few practical things worth knowing if you’re designing or ordering anodized parts:
- It follows the existing surface, flaws and all. Machining marks, scratches, and tool lines will still be visible after anodizing since it’s not a filler coating.
- It adds a small amount of thickness. Roughly half the oxide layer grows outward and half grows inward into the base metal, often called the 50/50 rule. For tight-tolerance features like threads or press-fit holes, this needs to be accounted for at the design stage.
- Rack marks are unavoidable. Parts have to be physically held during the process, so the contact points won’t anodize evenly. Designers usually plan for this by identifying a “B-side” that can carry the rack marks.
- Not every metal can be anodized. Aluminum is the most common candidate. Titanium, magnesium, zinc, and niobium can be anodized too, but with different chemistry and results.
- It’s not a substitute for structural strength. Anodizing improves surface properties, not the bulk mechanical properties of the part.
Frequently asked questions
Q1 What is anodizing used for?
It’s used to protect aluminum and similar metals from corrosion and wear while adding a durable, decorative color finish. You’ll find it on everything from smartphone bodies and cookware to aircraft components and architectural panels.
Q2 Is anodizing the same as painting?
No. Paint sits on top of the metal and can chip or peel. Anodizing converts the metal’s own surface into oxide, so the finish is built into the part rather than layered over it.
Q3 Does anodizing make aluminum stronger?
It makes the surface harder and more resistant to scratching and corrosion, but it doesn’t significantly change the part’s overall strength or structural integrity.
Q4 Can you anodize metals other than aluminum?
Yes. Titanium, magnesium, zinc, tantalum, and niobium can all be anodized, though aluminum remains by far the most common because of how well its oxide layer forms and holds color.
Q5 Is anodized aluminum safe for food contact?
Type II anodized aluminum is generally considered safe for cookware, which is why you see it in pots and pans. The sealed oxide layer is non-reactive and doesn’t leach into food the way bare aluminum can.
Q6 How long does an anodized finish last?
With proper sealing, an anodized finish can last for decades under normal conditions. It’s one of the more durable metal finishes available, though prolonged exposure to strong acids or abrasive wear can eventually break it down.
Q7 Is anodizing expensive?
It’s generally more affordable than plating processes like chrome or gold plating, and its low maintenance costs over the part’s life often make it cheaper in the long run, even though upfront cost depends on part size, color, and anodizing type.
About Author
Related Posts